At a glance
- How to shoot the fjords from a moving deck, from exposure and focus to cold batteries, gloves and the aurora over the harbour.
- The Tromsø: Arctic Fjord Cruise & Fishing Experience runs 4 - 5 hours from US$136 and is rated 4.72 from 5,096 reviews.[1]
- January offers the highest statistical chance of seeing the northern lights in Tromsø, with 75-80% success.[2]
- In Tromsø the average air temperature in February, the coldest month, is -3.2 °C. Bring spare batteries and warm gloves.[3]
- Norway has 2,500 breeding pairs of white-tailed sea eagles, the largest breeding population in Europe.[4] Keep a longer lens ready for birds working the surface.
- Top choice Fjord Cruise & Fishing from US$136 Duration4 - 5 hours[1]Rating4.72 from 5,096 reviews[1]GuideLive tour guide: English[1]CancellationFree cancellation 24 hours ahead[1]PaymentReserve now & pay later[1] Check availability
- Polar Landscape Cruise from US$121 Duration3.5 hours[5]Rating4.68 from 1,959 reviews[5]GuideLive tour guide: English, Norwegian[5]CancellationFree cancellation 24 hours ahead[5]PaymentReserve now & pay later[5] See this tour
- Fishing Sea Safari from US$173 Duration3.5 hours[6]Rating4.85 from 721 reviews[6]GuideLive tour guide: English[6]CancellationFree cancellation 24 hours ahead[6]PaymentReserve now & pay later[6] See this tour
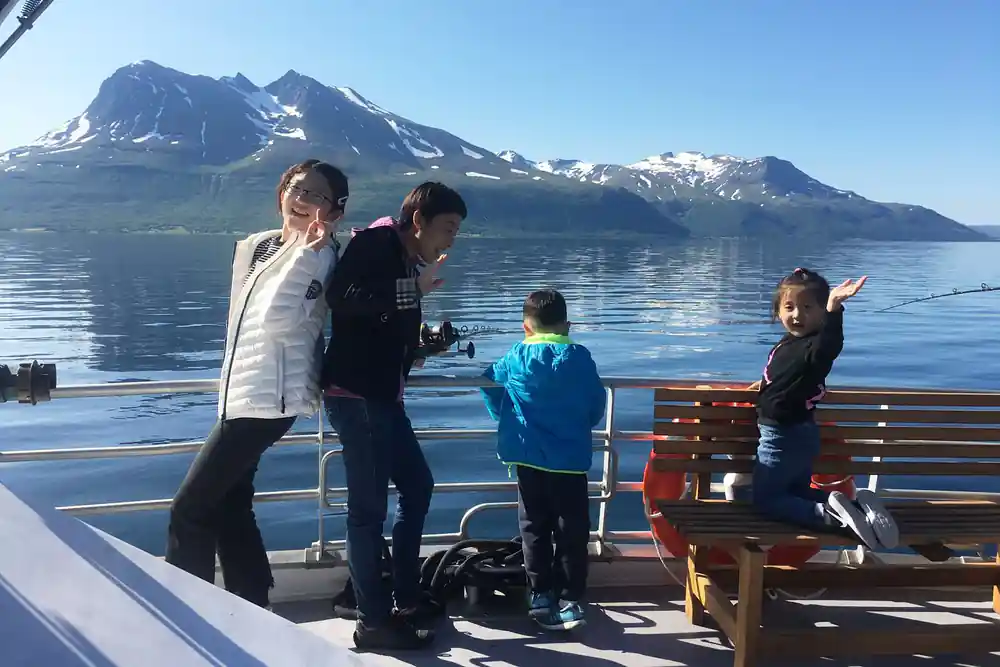
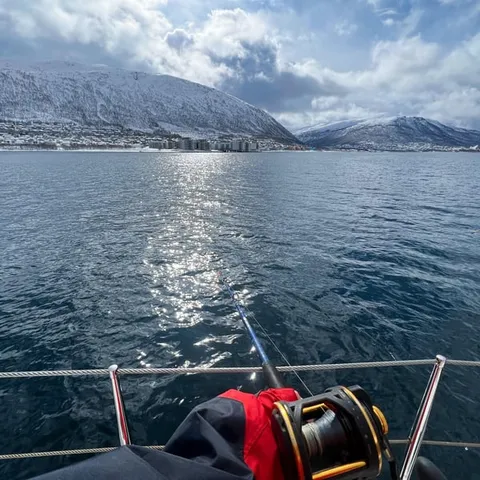
January ranks #1 with polar night darkness, stable cold weather (-10°C to -15°C), and 75-80% success though highest crowds and prices (€140-200 accommodation, €90-150 tours).
Worth bringing the camera on board
Before you board
- Choose one lens, fit the hood and charge every battery you own
- Check the aurora forecast and the cloud cover before you sail
- Pack a dry bag, zip-lock bags and a microfibre cloth for spray
- Ask the crew where you may stand while the boat is moving
Kit that survives the cold
- Two spare batteries kept warm in an inside jacket pocket
- Allow an hour or two outside on deck in winter conditions
- Liner gloves with conductive fingertips plus flip-off over-mittens
- The fjord fishing cruise starts from US$136[1]
Exposure and ISO on a moving deck
A fjord cruise gives you a moving platform, a wide horizon and light that changes every few minutes. Set the camera up before you leave the quay: aperture priority and a middling aperture for daylight landscapes, manual the moment you turn towards the aurora. Auto ISO is a good friend on deck, because you will be juggling a rail, a hood and a pair of gloves at the same time. Shoot raw, and take a slightly noisy frame over a blurred one every time.
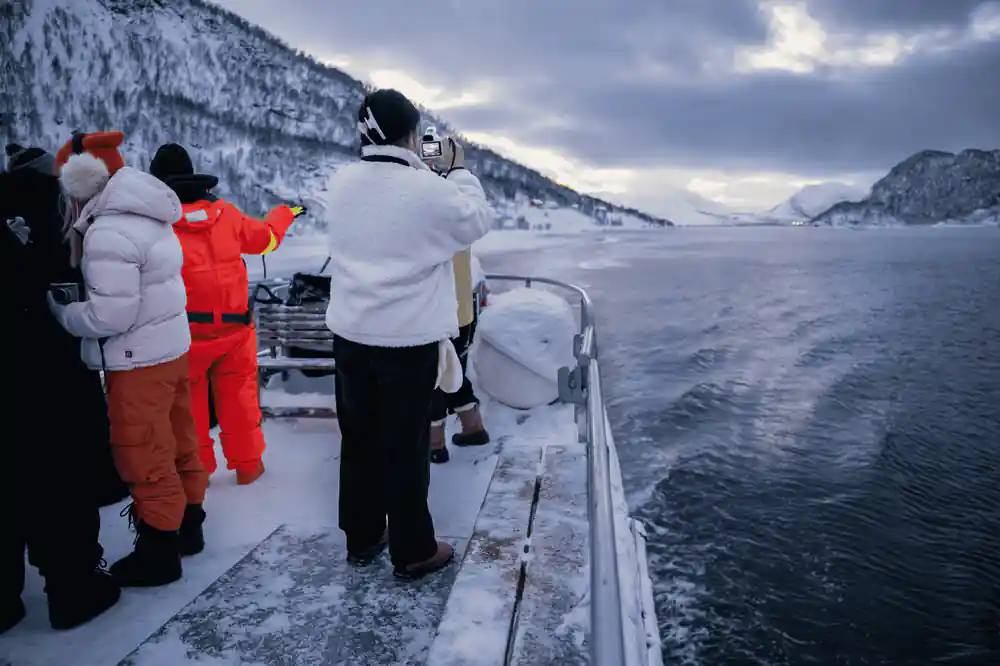
Keep the shutter speed a touch faster than you would use on land. A boat idles, drifts and rolls, and that small movement shows up first in foreground rocks and on the surface of the water. If the boat is under way, a fast shutter freezes the tingle of the wake; if you want silky water, press the camera against the rail, take a burst and choose the sharpest frame later. Breathe out, then squeeze the shutter button rather than stabbing at it.
Focus is the other half of the job. Use single point autofocus on a snow-covered peak or a lit window on shore, then switch to manual focus and leave it alone for the rest of the pass. Live view magnification helps in the dark, and a small torch with a red filter saves your night vision and your neighbours' eyes. If the boat is rolling, wait for the top of the swell before you press; there is always a quiet half second up there.
Phone night mode versus manual settings
Phones are genuinely good at night sky work, and if you want to know how to photograph northern lights with an iPhone the short answer is to brace it, turn night mode on and let the exposure run. The longest night exposures only appear when the phone is completely still, which is why a rail, a bench or a pocket tripod beats a hopeful hand hold. Tap the brightest star to focus, then drag the exposure slider down a little, because the aurora is bright and blows out easily.
A manual camera still wins on flexibility. You can open the aperture wider, choose your own ISO and take a long exposure without the phone changing its mind halfway through. That said, the phone in your pocket is the camera that is always with you, and on a rolling deck the gap between the two is often smaller than the gap between steady and shaky.
Whichever you carry, work in the same order every time: steady the camera, set focus, set exposure, then compose. Keep the phone in an inside pocket so the battery stays warm, and wipe the lens with a microfibre cloth before each shot. A fingerprint smeared across a bright aurora turns into a soft glowing blob that no amount of editing removes.
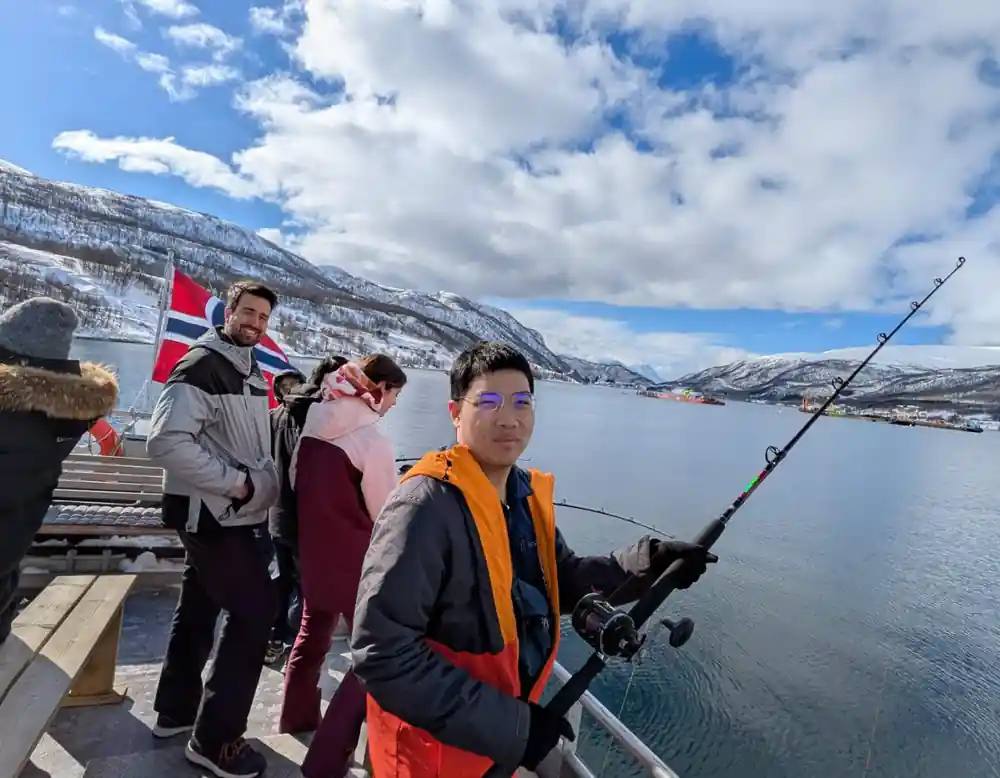
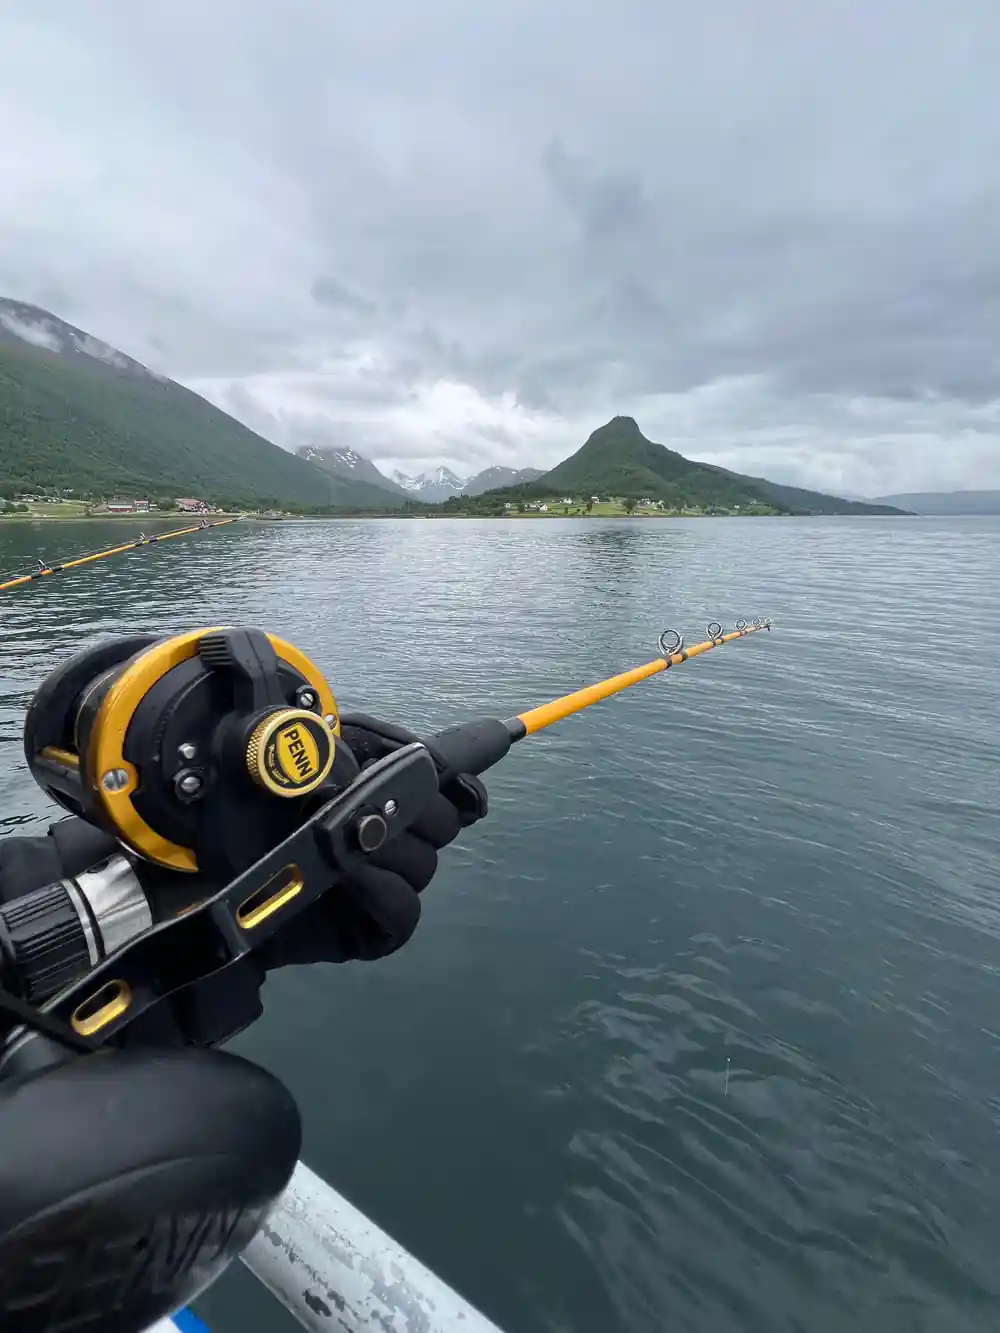
A rail, a spinning rod and a sky that will not hold still for long.
Battery survival in Arctic cold
Lithium batteries lose voltage quickly when they are cold, and a camera that reads full in the cabin can die on the first aurora burst. Carry two or three spares and rotate them: one in the camera, one in an inside jacket pocket against your body, one in a sealed bag. If you are building a Tromsø northern lights camera kit, spend the money on warm spares and a fast wide lens first, and on everything else later.
In Tromsø the average air temperature in February, the coldest month, is -3.2 °C.[3] Plan for a camera that stays outside for an hour or two at a time, and for fingers that complain long before the camera does. Screen brightness, image stabilisation and long exposures all eat power, so turn down what you do not need and keep the spare battery warm rather than merely packed.
Never warm a cold camera quickly. Condensation forms when you carry it into a heated cabin, and the moisture settles on the sensor and inside the lens. Put the camera into a dry bag or a zip-lock before you go indoors and let it come up to room temperature slowly. Take the memory card out rather than the lens off, and keep a silica gel sachet in your bag.
Gloves that work on touchscreens
Thin liner gloves with conductive fingertips let you tap a screen and press small buttons, and a pair of heavier over-mittens on top keeps the heat in between shots. A mitten that flips off in a second is what you want when the aurora suddenly brightens. Test the combination at home first, because a glove that behaves in a warm living room can feel very different on a steel deck.
Keep a hand warmer in each pocket and a spare pair of liners in a dry bag. If your hands get wet, change the liners straight away, since wet hands lose dexterity fast and cold hands drop cameras. A neck strap or a wrist strap means you never have to grip hard with numb fingers, and a small towel tucked under your arm deals with spray on the lens hood.
Simplify what your fingers need to do. Set the camera to a mode you can run with one thumb and one dial, tape over the buttons you never use, and keep the hood on so you can set the camera down without touching glass. The fewer adjustments you make in the dark, the more frames you bring home.
from US$136
The Arctic Fjord Cruise & Fishing Experience runs 4 - 5 hours with a live English-speaking guide.[1]
Salt spray and condensation protection
Sea air leaves a fine film on glass, and that film softens every highlight. Wipe the front element with a microfibre cloth and a little fresh water instead of scrubbing dry salt across the coating. A clear or UV filter is cheap insurance: clean the filter rather than the front element, and replace the filter if it gets scratched rather than living with the flare.
Bring a dry bag, a couple of zip-lock bags and a small towel. When the boat starts moving, seal the camera and let it hang inside your jacket instead of on the rail. If spray lands on the body, wipe it off at once with a damp cloth, then dry the seams and the dials before they stiffen.
Changing lenses outdoors is the biggest risk on a boat. Pick one lens for the trip, or do swaps inside the cabin with the door closed and the camera pointing down. A rocket blower and a sensor swab take almost no space, and a silica gel sachet in your bag soaks up the damp between outings.
Photographing sea eagles in low light
White-tailed sea eagles are the headline bird here, and Norway has 2,500 breeding pairs, the largest breeding population in Europe.[4] They tend to appear when you are set up for something else, so keep a second body or a zoom lens within reach and check the sky whenever the boat slows or the crew points.
For birds in low light, favour a wide aperture and a shutter speed fast enough to freeze a wingbeat, and let the ISO climb. Track the eagle with both eyes open, start shooting before it fills the frame and hold the burst through the turn. A dark bird against a bright sky is a contrast problem, so expose for the highlights and lift the shadows later when you get home.
Flat grey light is often the best eagle light, and it is also the light that makes a fjord look soft and silvery. Watch for birds working the surface near the wake and listen for a shout from the deck. The water below is full of life, with coastal cod, saithe, pollack, haddock, herring, mackerel and sprat among the fish found in Norwegian fjords.[7]
Positioning for the harbour skyline shot
The run back towards Tromsø is usually the best moment for a wide shot: the bridge, the Arctic Cathedral and the lights of the town stacked against the sky. Move to the stern or the bow before the boat turns, level the horizon, and leave some water in the frame instead of cropping tight to the wake.
Tromsdalstinden, the large mountain across the bridge from downtown Tromsø, has a summit elevation of 1,238 m, and it anchors the skyline nicely on a third of the frame.[8] Use a small aperture so the town lights stay as points of light, keep the ISO low, and take a handful of frames as the boat drifts rather than one hopeful shot.
Tromsø claims 61 days of polar night, when the sun stays below the horizon and daytime becomes a long blue twilight.[9] That soft light is lovely for handheld frames of the waterfront, and it means you can be out with a camera at almost any hour and still find something worth pointing at.
Hours on the water by tour
GetYourGuide listed durations for five Tromsø fjord tours.[5][6][10][11][12]
From-prices for fjord cruises and fishing trips
From-prices in US dollars taken from these GetYourGuide listings.[1][5][6][10]
When to plan your photography trip
On-deck shooting plan
Set up before you sail
Decide on one lens, fit the hood, charge the spares and put a cloth in your pocket. Sort the camera out at the quay, not in the dark.
Steady the camera
Brace the body or the lens against the rail, tuck your elbows in, and squeeze the shutter on the out-breath instead of stabbing at the button.
Lock focus and exposure
Focus on a lit window or a snow-covered peak, then switch to manual. Check the histogram after the first frame and adjust from there.
Rotate your batteries
Swap the cold battery for a warm one before it dies, and keep the spare inside your jacket rather than in the camera bag.
Dry the gear before you go in
Wipe spray off the body, seal the camera in a bag and let it warm up slowly indoors so the condensation lands on the bag, not the lens.
Bring your camera on the Arctic Fjord Cruise & Fishing Experience
from US$137Reserve now & pay later